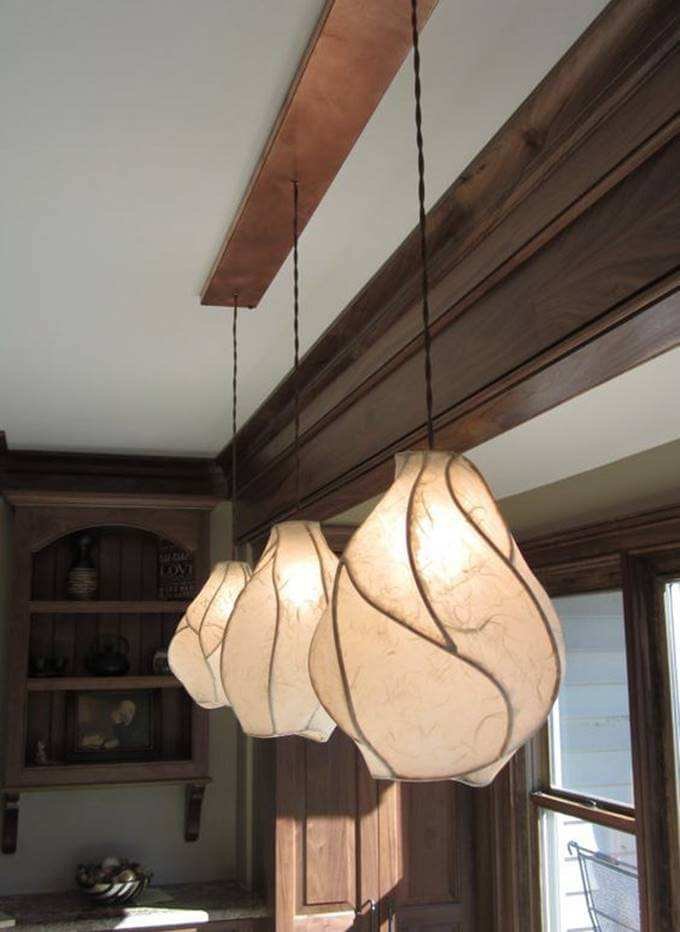

Chandelier making at home ? It might sound like a pretty crazy idea. However, this may be easier and less costly than you think. We are in the days when we have to stay in our house as much as possible due to the COVID-19 virus. In this case; With weekend restrictions, it can be difficult to spend time at home. For most people, the way to turn these days into an advantage is through DIY projects. Thanks to these pleasant projects, which are now made by evaluating the materials, we can both spend quality time with our family members and obtain creative and stylish chandeliers instead of expensive chandeliers. While home-made chandeliers that can change the ambiance of our home can be the center of attention of our guests, they can also help us acquire a new hobby. So, how to make a chandelier at home ? Let’s look at what you can do using different materials!
Illustrated Lecture on Making a Chandelier at Home
Article Titles
Making a Cardboard Chandelier


Cardboard chandeliers , which have become popular in recent years, have become sought-after products for people interested in different designs. When we do a small industry research, we see that we need to allocate a tight budget for these products. However, we can get a stylish and modern chandelier with the help of a few materials we can find in our house. If you are ready to make a chandelier from cardboard , let’s take a look at the materials.
- Materials:
- * 80 x 50 x 50 cardboard box
- * Silicone gun
- * Silicone
- * Spray paint
- * Ruler
- * Hear shaking
- * Bulb
- * Scissors
- * Pen
If our materials are ready, let’s take action for your tiny piece of art from a professional hand.
Stages of Construction:
- First, plug in the silicone gun and allow time for it to warm up.
- Then open the cardboard box at the joints to get a large cardboard box.
- Determine 5 centimeters on the cardboard with the help of a ruler.
- Draw long stripes down the points you determined with your pen. Try to get as straight lines as possible.
- Cut these strips lengthwise with scissors.
- Using the ruler, fold the strips you obtained at five points.
- Adhere the two ends of the strips you folded with the help of silicone. You can choose fireproof gloves to prevent the silicone from burning your hands.
- When you connect the two ends, you will create the pentagon shape. Repeat the process until you have 7-10 pentagons in this way.
- Stick the pentagons you get with the help of silicone in a cross overlap. The thing to pay attention to here is that the corners do not overlap.
- To insert the sense, cut a square piece of cardboard to match the last pentagonal piece and make a hole just enough to fit the socket. Glue this perforated piece to the top.
- Paint your cardboard chandelier without any gaps with the spray paint of your choice. Do not forget to use a mask, as volatile dyes can threaten health and cause allergic reactions. You can place it in a deep box and paint it to prevent it from spreading.
- After making sure that it is dry, pass the sensor through the hole and make the electrical connections. Remember to take precautions against electrical hazard.
- Connect your desired color and voltage bulb to the socket. Here it is!
Making a Chandelier from Balloons and Rope


Don’t you want a different, extraordinary and energetic chandelier that will bring Japanese breezes to your living spaces? Especially when it comes to a chandelier that you can use at a very low cost and for many years, making a chandelier made of balloons and ropes can gain importance for you. We have another suggestion that you can have fun in a very short time and can ignite a marginal decoration idea in an instant. Are you excited about the materials used to make chandeliers from balloons and ropes that you will want to transform all the chandeliers in your home after you have made it? We share your excitement and start!
- Materials:
- * Balloon
- * Plastic Glue – Formica Glue
- * Hemp rope or Straw rope
- * Felt or ballpoint pen
- * Hear
- * Bulb
If you have prepared the materials required for making chandeliers from rope and balloons , it means we are ready for this pleasant change. So let’s get started.
Stages of Construction:
- First, start by softening the glue. To do this, squeeze glue into a deep, wide plastic container and add a little water to dilute it. In this way, hemp rope or straw rope will stick to the balloon more easily.
- Dip your rope in the diluted mixture so that it does not interfere and let it wet with glue.
- Inflate the balloon. The bigger the balloon, the more beautiful the image will be. However, be careful not to get too hard in order not to explode.
- Use a felt-tip or ballpoint pen at the bottom of the balloon to make a cap-sized mark. You will need this space later.
- Start wrapping the string that you soaked with glue into a pattern or a random pattern. Having gaps in the winding process will not be a problem, but if you want a more solid chandelier, you can apply another layer of glue on the ropes with a brush after wrapping the ropes. Do not forget to take care not to cover the area you mark.
- Leave the balloon overnight to allow the threads to dry and harden.
- The next day, after making sure that the ropes are dry and hard, pop the balloon from the area you marked and remove it from the ropes.
- Before passing your sense through the marked area, fix your bulb to the lampholder, then carefully make the electrical connection by passing it through the sense ropes.
- Here your homemade chandelier product is ready in all its glory!
- If you want to try different colors, you can spray paint your straw threads after drying.
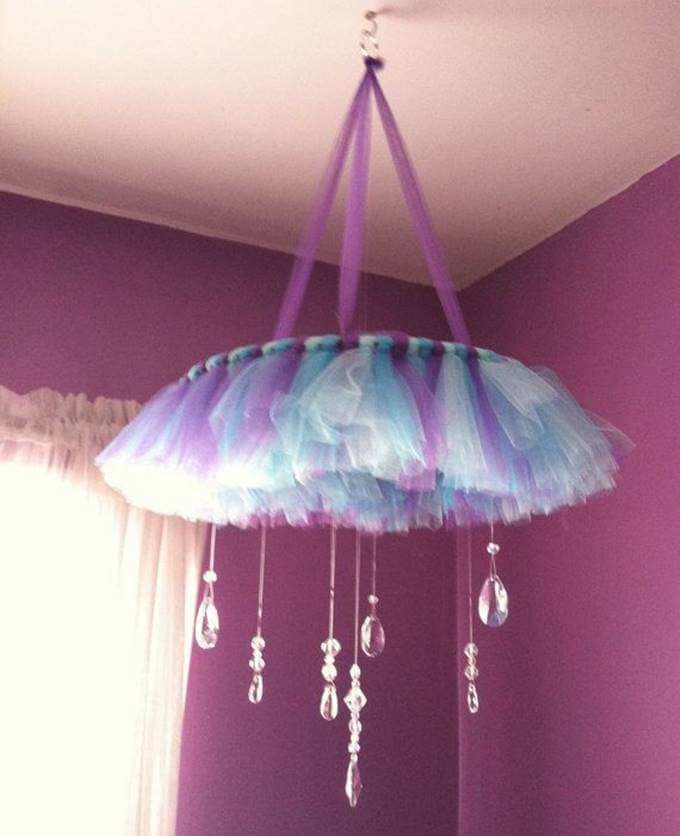
Making a Chandelier from Tulle


Are you one of those who love tulle elegance? Thanks to tulle, which has not gone out of fashion for centuries and has an important place in home decorations, you can create a different atmosphere in your home. As a decorative product, tulle can be admired by curious eyes with its structure that can enrich many corners in your home. You can witness the change by sparing some budget for chandelier making from tulle . If paper pencils are ready, get ready for the supplies!
- Materials:
- * Chandelier wire
- * Bulb
- * Hear
- * Tulle in the desired color
- * Silicone
- * Silicone gun
- * Scissors
- * Decorative tiny roses
If we have prepared the materials for chandelier making from tulle, let’s be ready for pleasant moments that will stimulate our imagination!
Stages of Construction:
- First of all, wipe the chandelier wire with a dry cloth.
- To determine the part that will cover the chandelier wire by opening the tulle of the color you want, take an eye decision and cut the amount you need.
- Start gluing your tulle from the top using the silicone gun you previously heated. Because the tulle is thin, your hand may get burned. So use fireproof gloves.
- If you want to achieve a different effect, instead of sticking the tulle straight, you can make the part of the tulle to be pasted with a fork. So your chandelier can look cool.
- After covering the tulle, position the decorative roses in a scattered way and fix them to the tulle with the help of silicone.
- Thread the sense chandelier wire and insert the bulb.
- Make the lampholder connections carefully. It’s that simple!
We have shared with you the projects you can do by sparing very low budgets for chandelier construction at home . As you can see, you can contribute to your home budget thanks to the home-made chandeliers , which are very easy to make, you can now have fun while evaluating the materials, and you can get a new and enjoyable hobby that will add elegance to you. Another “How To?” See you in our article.

